Monday, October 29, 2012

Master Bedroom Restoration

After completing work on our garage, it was getting into the fall and winter months so we decided to focus our attention on the inside of the house.

Upstairs in our home there were two bedrooms. One wasn't in too bad of shape outside of being the only area upstairs with carpet and of course the paint colors were awful. The other room, however, was hideous. It was very 70's looking to us with the wood paneling, dropped ceiling and dark built in cabinetry with peach paint on the trim. Oddly enough, however, in talking with our neighbors that have lived next door for 35+ years, they told us that the owner that lived here for most of the home's life actually remodeled that room at some point in the 50's for his daughter. None the less, there was no doubt in our minds that the upstairs needed to be our next project.


My husband had a plan, and I went along for the ride. I fully admit that I have trouble visualizing rooms as they will look when they are complete. He told me that he wanted to knock out the wall between the two and put in pocket doors between them so that when they were closed we would still have two bedrooms upstairs but when they were open it would make for a large master bedroom with our bed area on one side and a sitting area on the other. Although I couldn't visualize the end result, I trusted his judgement.

The first step was to begin removing the cedar paneling. Before he started removing it, he was very worried that we would have to drywall the whole room because if you pushed on the paneling it would flex as if there was nothing behind it. As he started to pull the panels down, much to our surprise, he found that they had fully re-framed the entire room on top of the original plaster walls. After getting all of the paneling down he began to remove the framing. There were several cracks in the wall, and removing the framing left some damage as well, but all of this seemed to be repairable. We were very excited that we would be able to maintain the plaster and have both rooms match.


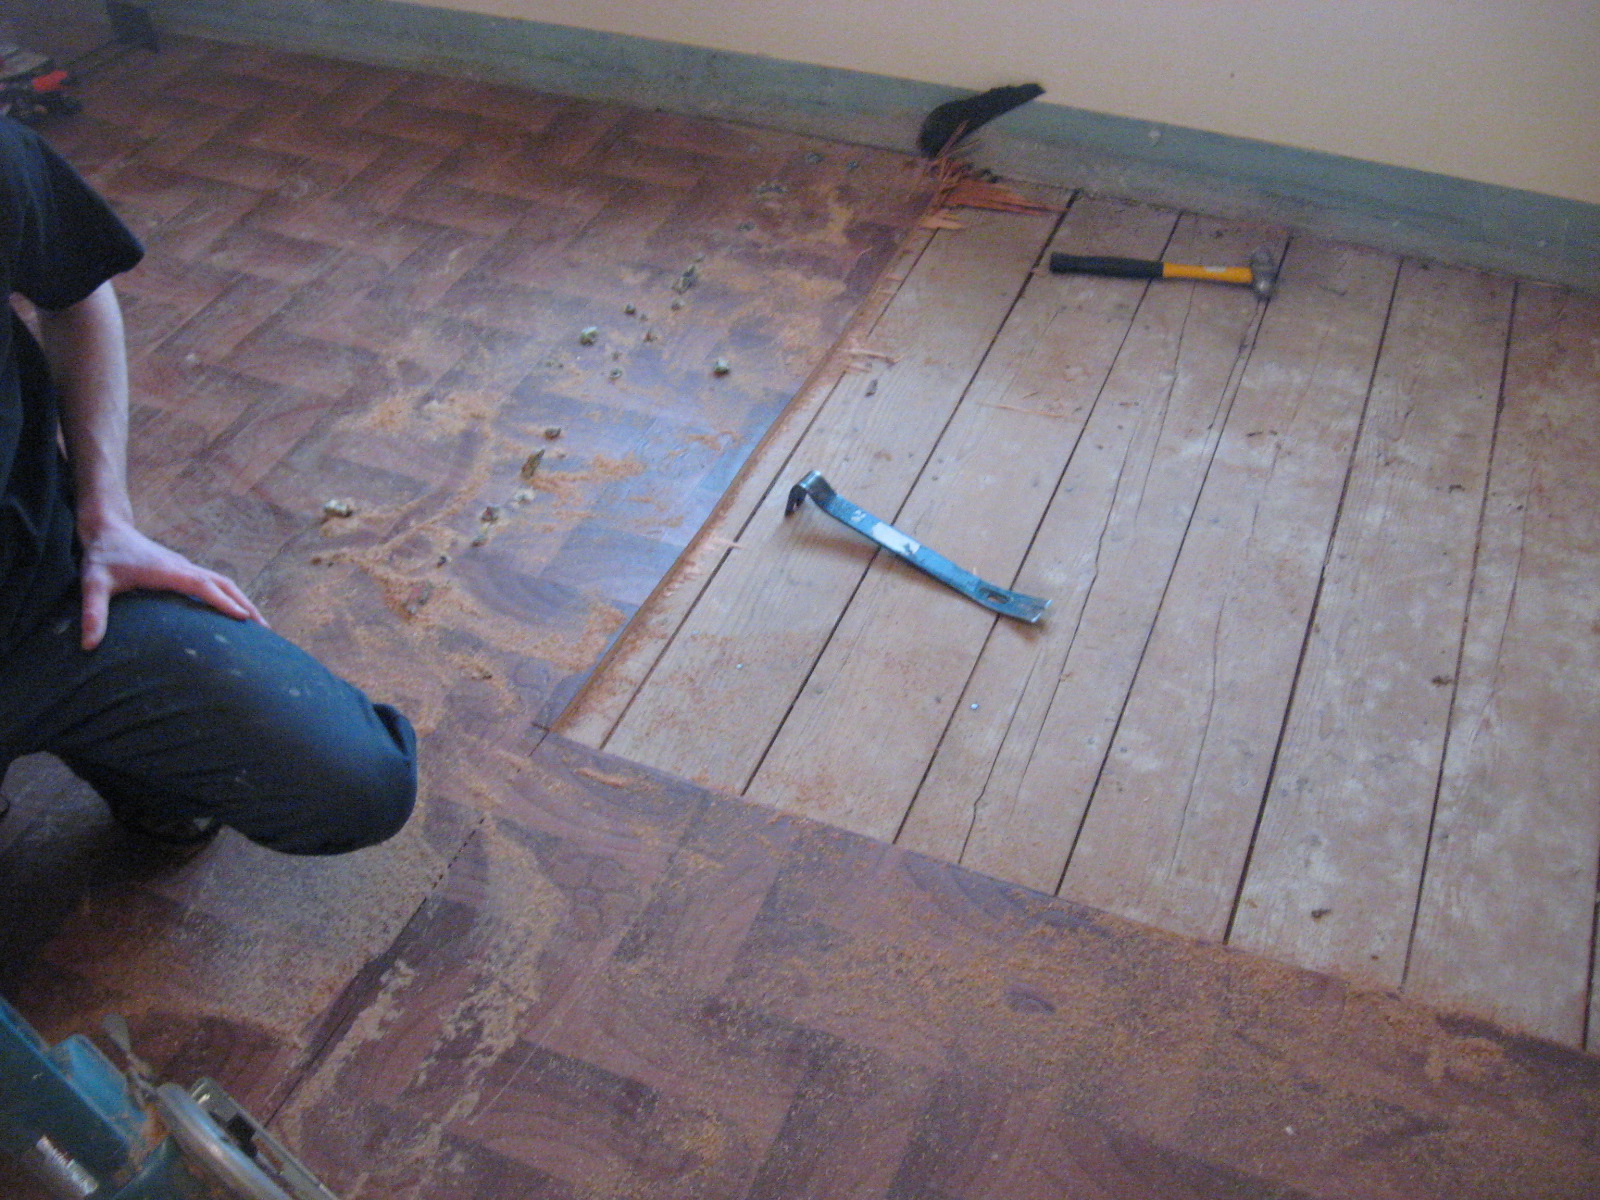
The next step was removing the wall between the two rooms. For those that have removed plaster walls, you know how incredibly dusty and messy that can be. Oh what a mess it was up there! But eventually the wall was out.


Next up was removing the carpet in the other bedroom. When we originally went through the house for the home inspection, my husband pulled up the carpet in one spot up there and saw hardwoods so we felt that after pulling up the carpet all we would have to do was refinish the hardwoods underneath. So he got to work pulling up the carpet and padding. Much to our dismay, under the carpeting was linoleum. And under the linoleum was two layers of sub floor. We realized that what he saw under the carpet originally was faux hardwood linoleum. This added a whole new level of fun to our project as we now needed to lay hardwoods in the one bedroom and ensure that they matched the other bedroom as well as the landing so that it would all look original when complete and look like one cohesive room.

 
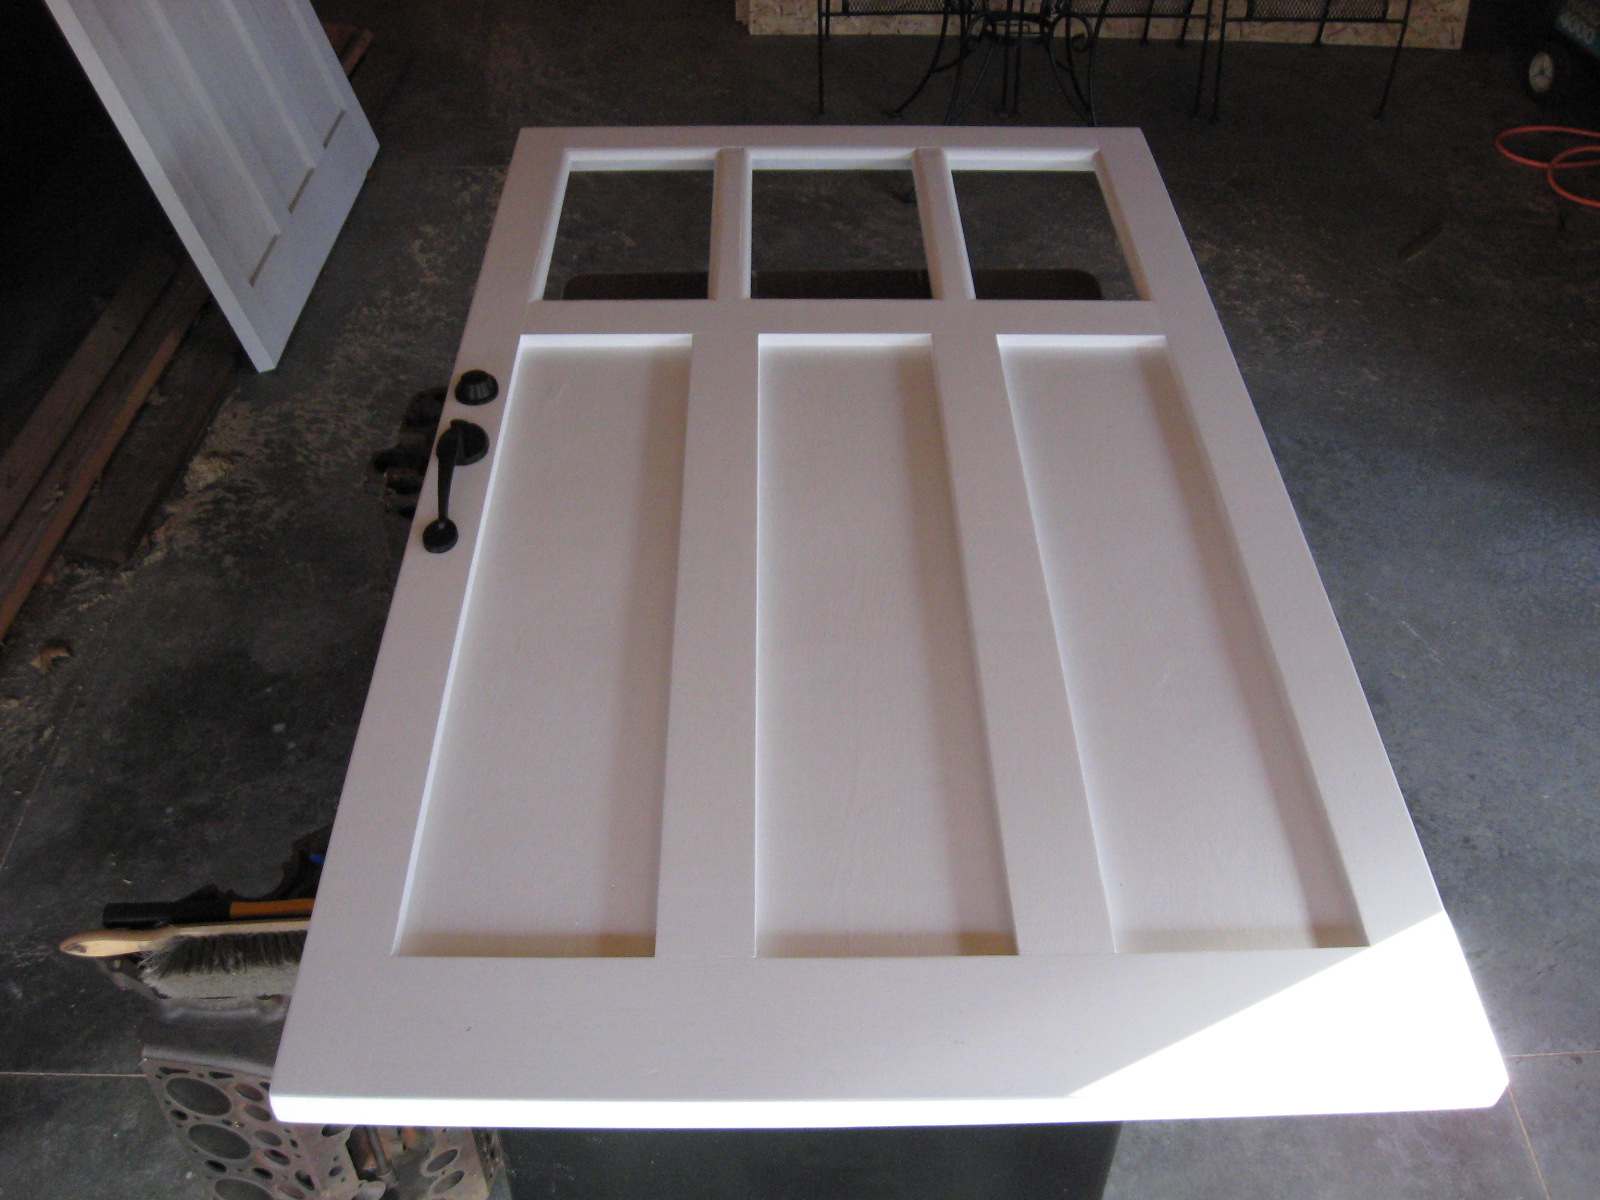
At this point he started to build the pocket doors. We didn't want to just buy a kit, because it was very important to us that they look original to the home. So we hit up our local Habitat for Humanity salvage yard to find doors that matched the doors in the rest of our home. We found two doors that were perfect for the project, they just needed to be trimmed slightly to work for the project. He then set up the inner mechanics and installed the doors.

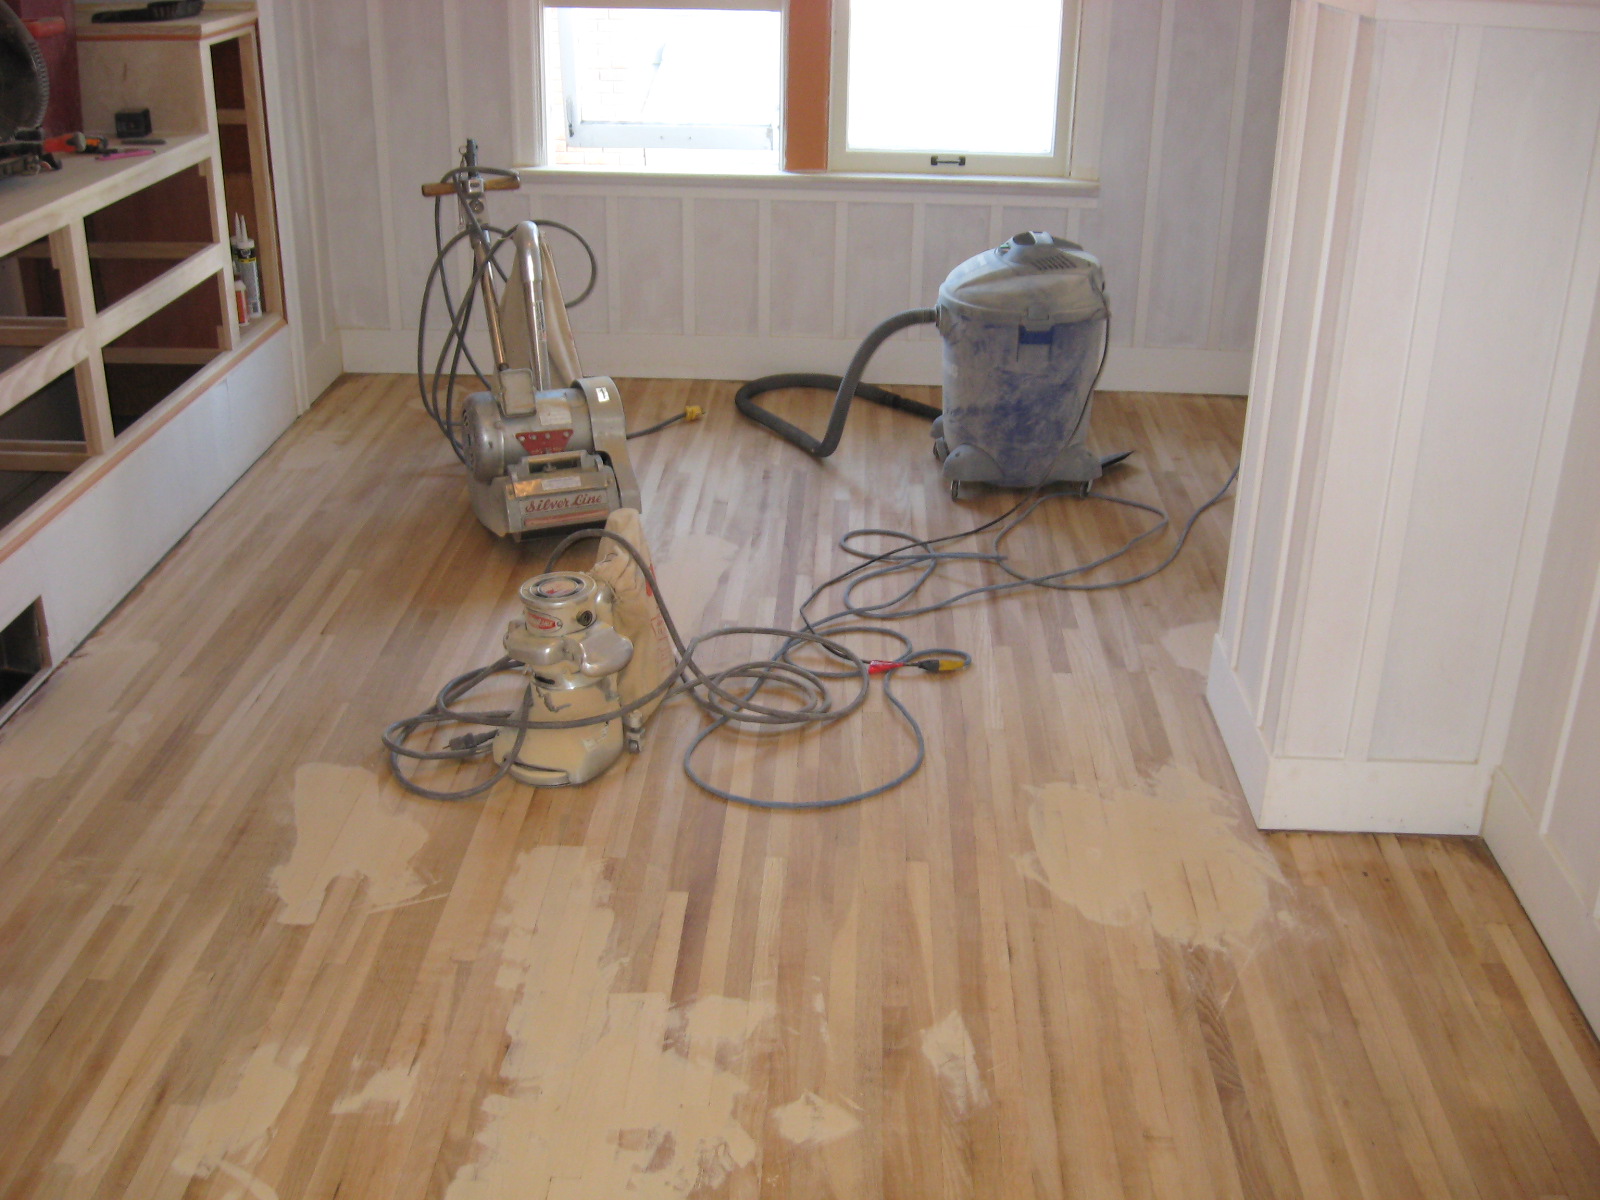
Once the pocket doors were framed in and complete, we started to call around to our local floor dealers to find hardwoods that would match the originals. We were very happy to find the same 1 1/2 width oak flooring that we needed. Installing them took some time due to the narrow width, but it was definitely worth it in the end to have them match so well.


Next up, we decided that it would be smart to take advantage of the extra space in the eves of the house. The bedroom has approximately 4 foot knee walls, so the eves were not originally accessible. My husband cut in two access doors, one in each room, in order to take advantage of this for storage. When cutting the hole in one side, he was shocked to discover a poster tacked up in there behind the plaster. It was a poster of Madonna. We have heard that people did this to bless their house and watch over them. So we were sure to secure the poster and leave it in it's original location.


We both love Craftsman style homes with the built in's and woodwork, so we decided to install some wainscoting and also create a built in where there was previously a different built in work area. The new built in would be used for storage as well as a spot to place a TV in our sitting area.


After all of this construction was complete it was time for the finish work. Refinishing the floors was my husbands arch nemesis. He had no idea how labor intensive that would be, but in the end the result was definitely worth it as once they were stained and sealed the new floors blended very well with the original floors.


 And finally it was time to paint the rooms. We chose a cream white trim with Restoration Hardware Silver Sage. We have a friend who is a painter by trade so we asked him to do the work. He is all about quality and attention to detail, so he hand brushed the whole room. The wainscoting with all of it's detail took some time to paint but it turned out beautiful. Not a stitch of tape used and every edge was cut in beautifully.


The finishing touch was lighting. The lighting in the rooms when we first moved in was awful. Nothing original to the home up there. So we went antiquing to try to find the perfect lights. While at a local lighting shop we were trying to find something very specific that we had in our heads and weren't having much luck. One of the employees at the lighting shop came by to see if he could help us. As we looked at what they had and described what we were hoping for, he informed us that he actually had something that sounded exactly like what we wanted in his own home. And they were a matching pair. Lucky for us, he was willing to sell them. We decided it was destiny because the guy actually works in the shop for the lighting store and doesn't normally go out on the floor. He was just filling in that day by chance. We ended up going by his house the next day to buy them and they were perfect. We put one in each bedroom and they looked great. Now we just needed one similar but not necessarily identical for the entry way outside the bedrooms. We were lucky enough to find one at a local antique store and they were willing to give us a great deal on it.


The lights in the bedroom had a very unique dark finish to them, so my husband even took the time to chemically treat the hardware in those rooms so that it would match the metal in light fixtures. It turned out beautiful.

Thursday, October 25, 2012

Carriage house inspired garage

When we first bought our house, the only garage was a one car garage just big enough for my husbands 1928 Model A Sedan. My husband is into old cars and has a few of them on top of our modern every day cars, so one very small, one car garage was not an option for us. Especially because at our first house the shop was actually bigger than the house and we had grown very accustomed to that.

Our yard had a sunken portion in the back that had once held a garden that was now overgrown and dead. The size of that portion of the yard was perfect for a garage. So my husband got to work ripping out the existing bushes and one very large pine tree that were right in the way.


He then had to haul in 75 yards of dirt to fill in the area and bring it up to the level of the rest of the yard. He then had to haul in 10 yards of gravel for the base of the concrete. This portion of the project alone took an extremely long time as he did this all on his one. Picking up one truckload of dirt at a time.


The next step was prepping for and then pouring concrete. We have a friend that works with concrete for a living, so my husband worked alongside him to get the foundation prepped and poured.


Next up was building the actual structure. I am not going to lie, I had my doubts. My husband had done home improvement projects at our first house, but none of those projects involved building walls, etc from the ground up. He is the type, however, that when he wants to do something he gets to work researching via reference books and websites and then goes to work.

He did most of the work himself alongside his friend that had done the concrete as a second set of hands.


The goal was to ensure that the structure looked like something that very well could have been original to the house. We felt strongly that we did not want a pole building or anything of that nature that would stand out. The building itself is very much patterned after our favorite old carriage houses and barns.


Garage doors were something that we knew could make or break it since most garage doors are very modern looking. So my husband actually built ours from scratch to give them that carriage door feel.


The window in the front is another detail to help keep with the period. We actually found this at a yard sale in our neighborhood from a neighbor that was replacing all of the original windows in their home.

The fascia and soffit trim work on the outside of the garage, in white, is designed to match our little garage exactly, because we left that one standing since it's original to the house.

Restoration of the little garage to follow in the future.

Once the new garage was complete on the outside we turned our attention to the inside of the house, so the inside of the garage still has some work to go. Pictures to follow as that progress picks up in the coming years. We did get it insulated and mostly drywalled as well as wired for electrical though, so it's usable as is.

Monday, October 22, 2012

Welcome to our blog!

This is our story of finding our dream house and making it a home for our family.

We are the type of people that often go through open houses in our neighborhood because we are into older homes and their architecture. Five years ago or so, we were living in a small (750 square foot) house that we were renovating room by room. As we neared completion we remembered a house that we had gone through that we both agreed was absolutely perfect for our second home, but was outside of our price range. We noticed that it was still for sale and asked our realtor to take us through it again. We fell in love with the house all over again, and much to our surprise, the price had reduced down to our price range. It was meant to be!

We have now been in this 1933 Tudor style home for four years. As the years go by we have been tackling it one project at a time trying to bring back the modernized areas of the house to their 30's glory.

We plan to share our progress so far with you as well as our plans for the future.

We have been married for six years now and have three adorable miniature dachshunds and are about to increase our family by one more as we await the arrival of our first child, a baby girl, early next year.

We love our cozy cottage and we hope you do too!